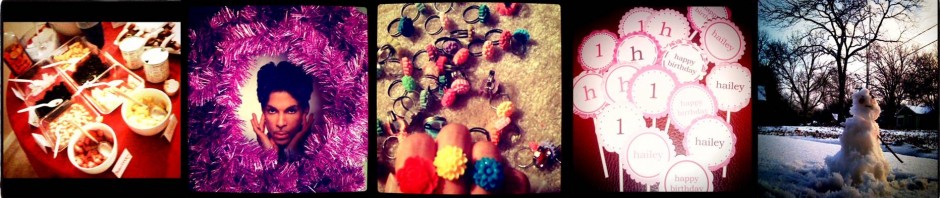
 My niece’s first birthday is quickly approaching and I was assigned decorations. My sister provided some guidance so I just needed to execute her requests.
First up are the birthday banners:
- Banner of photos from 0 to 11 months
- “Happy Birthday” banner
Photo banner materials:
- 6 sheets of 12×12 paper (3 solid colors, 3 patterned)
- Ribbon
- 12 4×6 photos
“Happy Birthday” banner materials:
- 4 sheets of colored 12×12 paper
- Ribbon
- Letter print-outs of “Happy Birthday”
Optional:
- Additional sheets of colored 12×12 paper to spell out a name
- Letter print-outs of the name
Supplies/tools:
- Paper trimmer
- Corner rounder
- Circle cutter
- Hole puncher
- Scrapbooking scissors
- Scotch tape
- Regular scissors
- Adhesive tape or glue
Photo banner pieces: Cut each sheet of 12×12 paper into four squares (6×6). For the 12 outer layer squares, use a corner rounder or scissors to round the corners. For the 12 middle layer squares, use scrapbooking scissors to cut eight curves on each side to make the square about 5×5. I used the solid colors for the middle layer but you can switch it up. For the photos, crop them to 4×4 and round the corners. You can make the banner smaller by cutting smaller squares, but I try to minimize how much cutting I have to do since I don’t have a fancy die cut machine.

“Happy Birthday” banner pieces: Cut each sheet of colored 12×12 paper into four circles. I used 5 ¾ inches for the diameter. I had white scrap paper and printed each letter on a sheet. I cut each letter out to a 5 ¼ inches circle. Die cut letters would have looked nicer, but the nearest scrapbook store was 30 minutes away.
I think it’s easier to complete all the cutting before the assembly. Tape together each piece, but you can also use glue. I prefer scrapbooking tape because I don’t like waiting for glue to dry. To keep the banner from tearing, I placed two strips of scotch tape on the backside of each piece before punching out the holes.
Using regular scissors, cut strips of ribbon about 4 inches long to connect the pieces. Tie extra ribbon to the ends for hanging. I used a 12 month picture of my niece for the spacer in Happy Birthday. You can also add stickers or die cuts to the banners for more pizzazz. Here are the completed banners:


Both banners are easy projects if you already have the supplies/tools, but quite time consuming with all the cutting and taping. If you don’t have the supplies, it may be more cost effective to buy these banners on Etsy.

seriously adorable! I might need to call you for some pointers for Ash’s baby shower.
So cute! Imma try this =) Thanks Linda!