
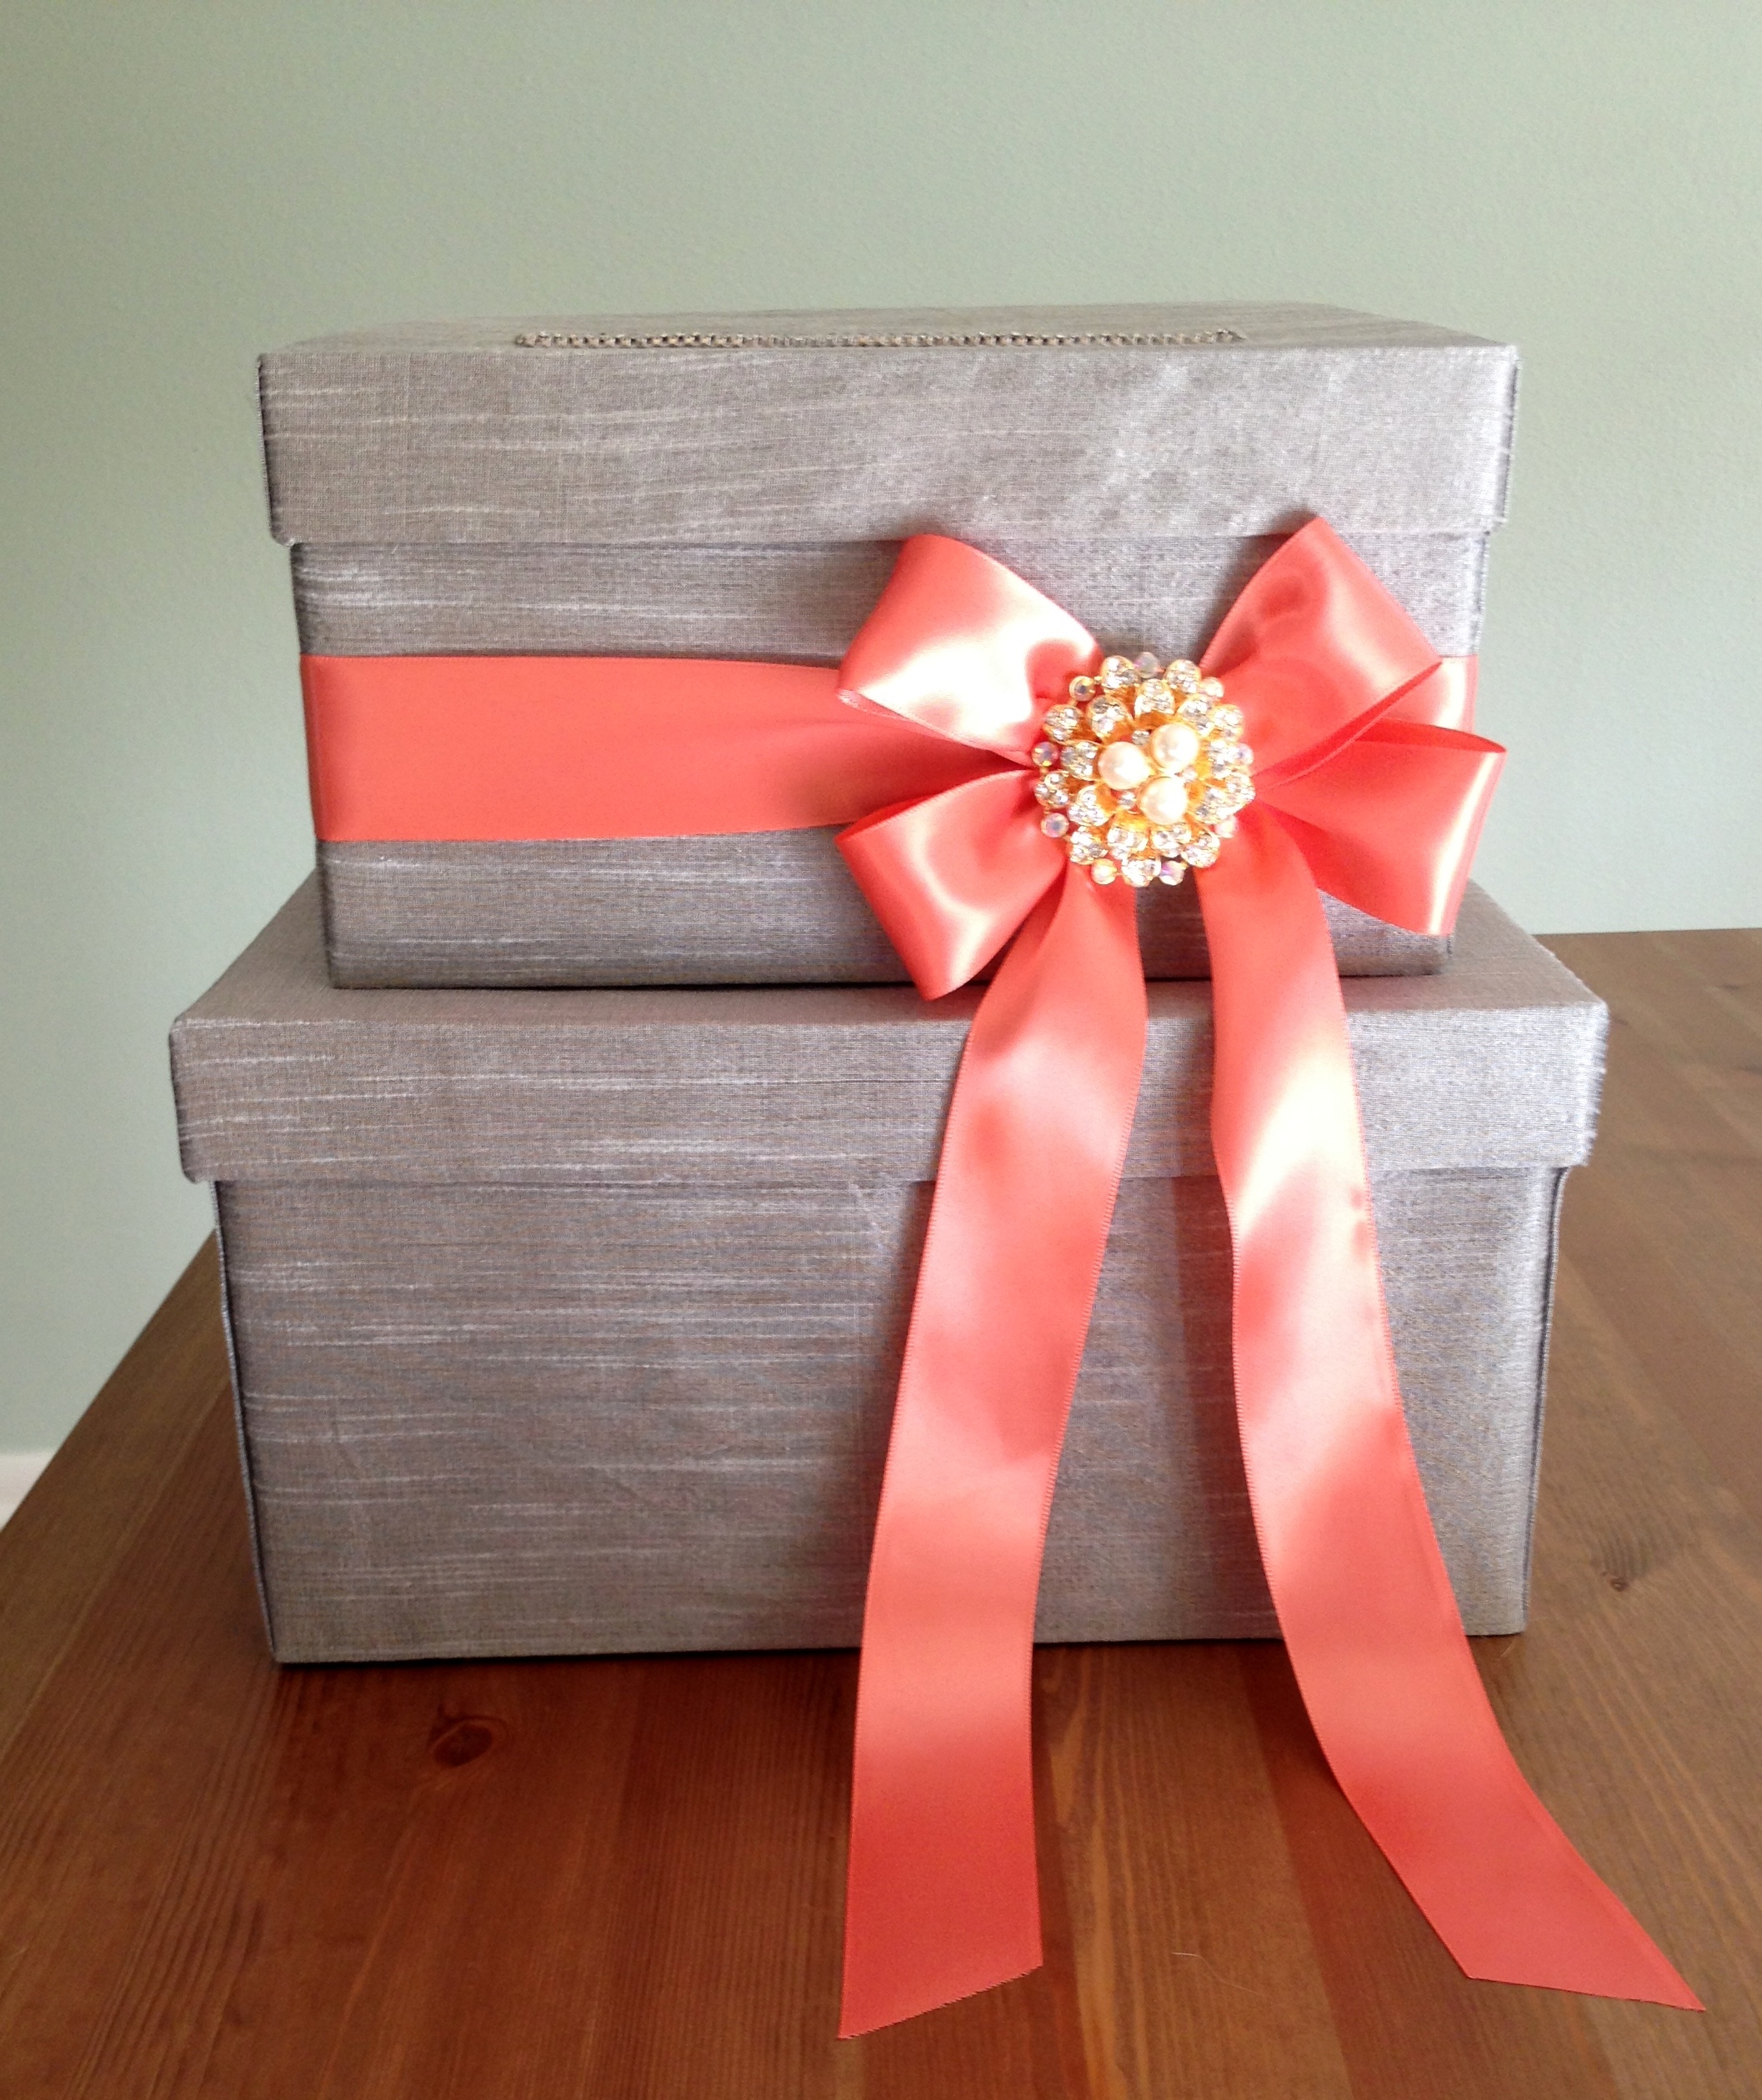
 After quite a hiatus, I’m back to share with you a DIY wedding two-tier card box. This was for Marcus’ sister’s wedding back in October. The card box was inspired by those made by Jamie Kim Designs. It took about 4 hours and cost around $35 in materials–so you can see if it’s worth it to buy or DIY.
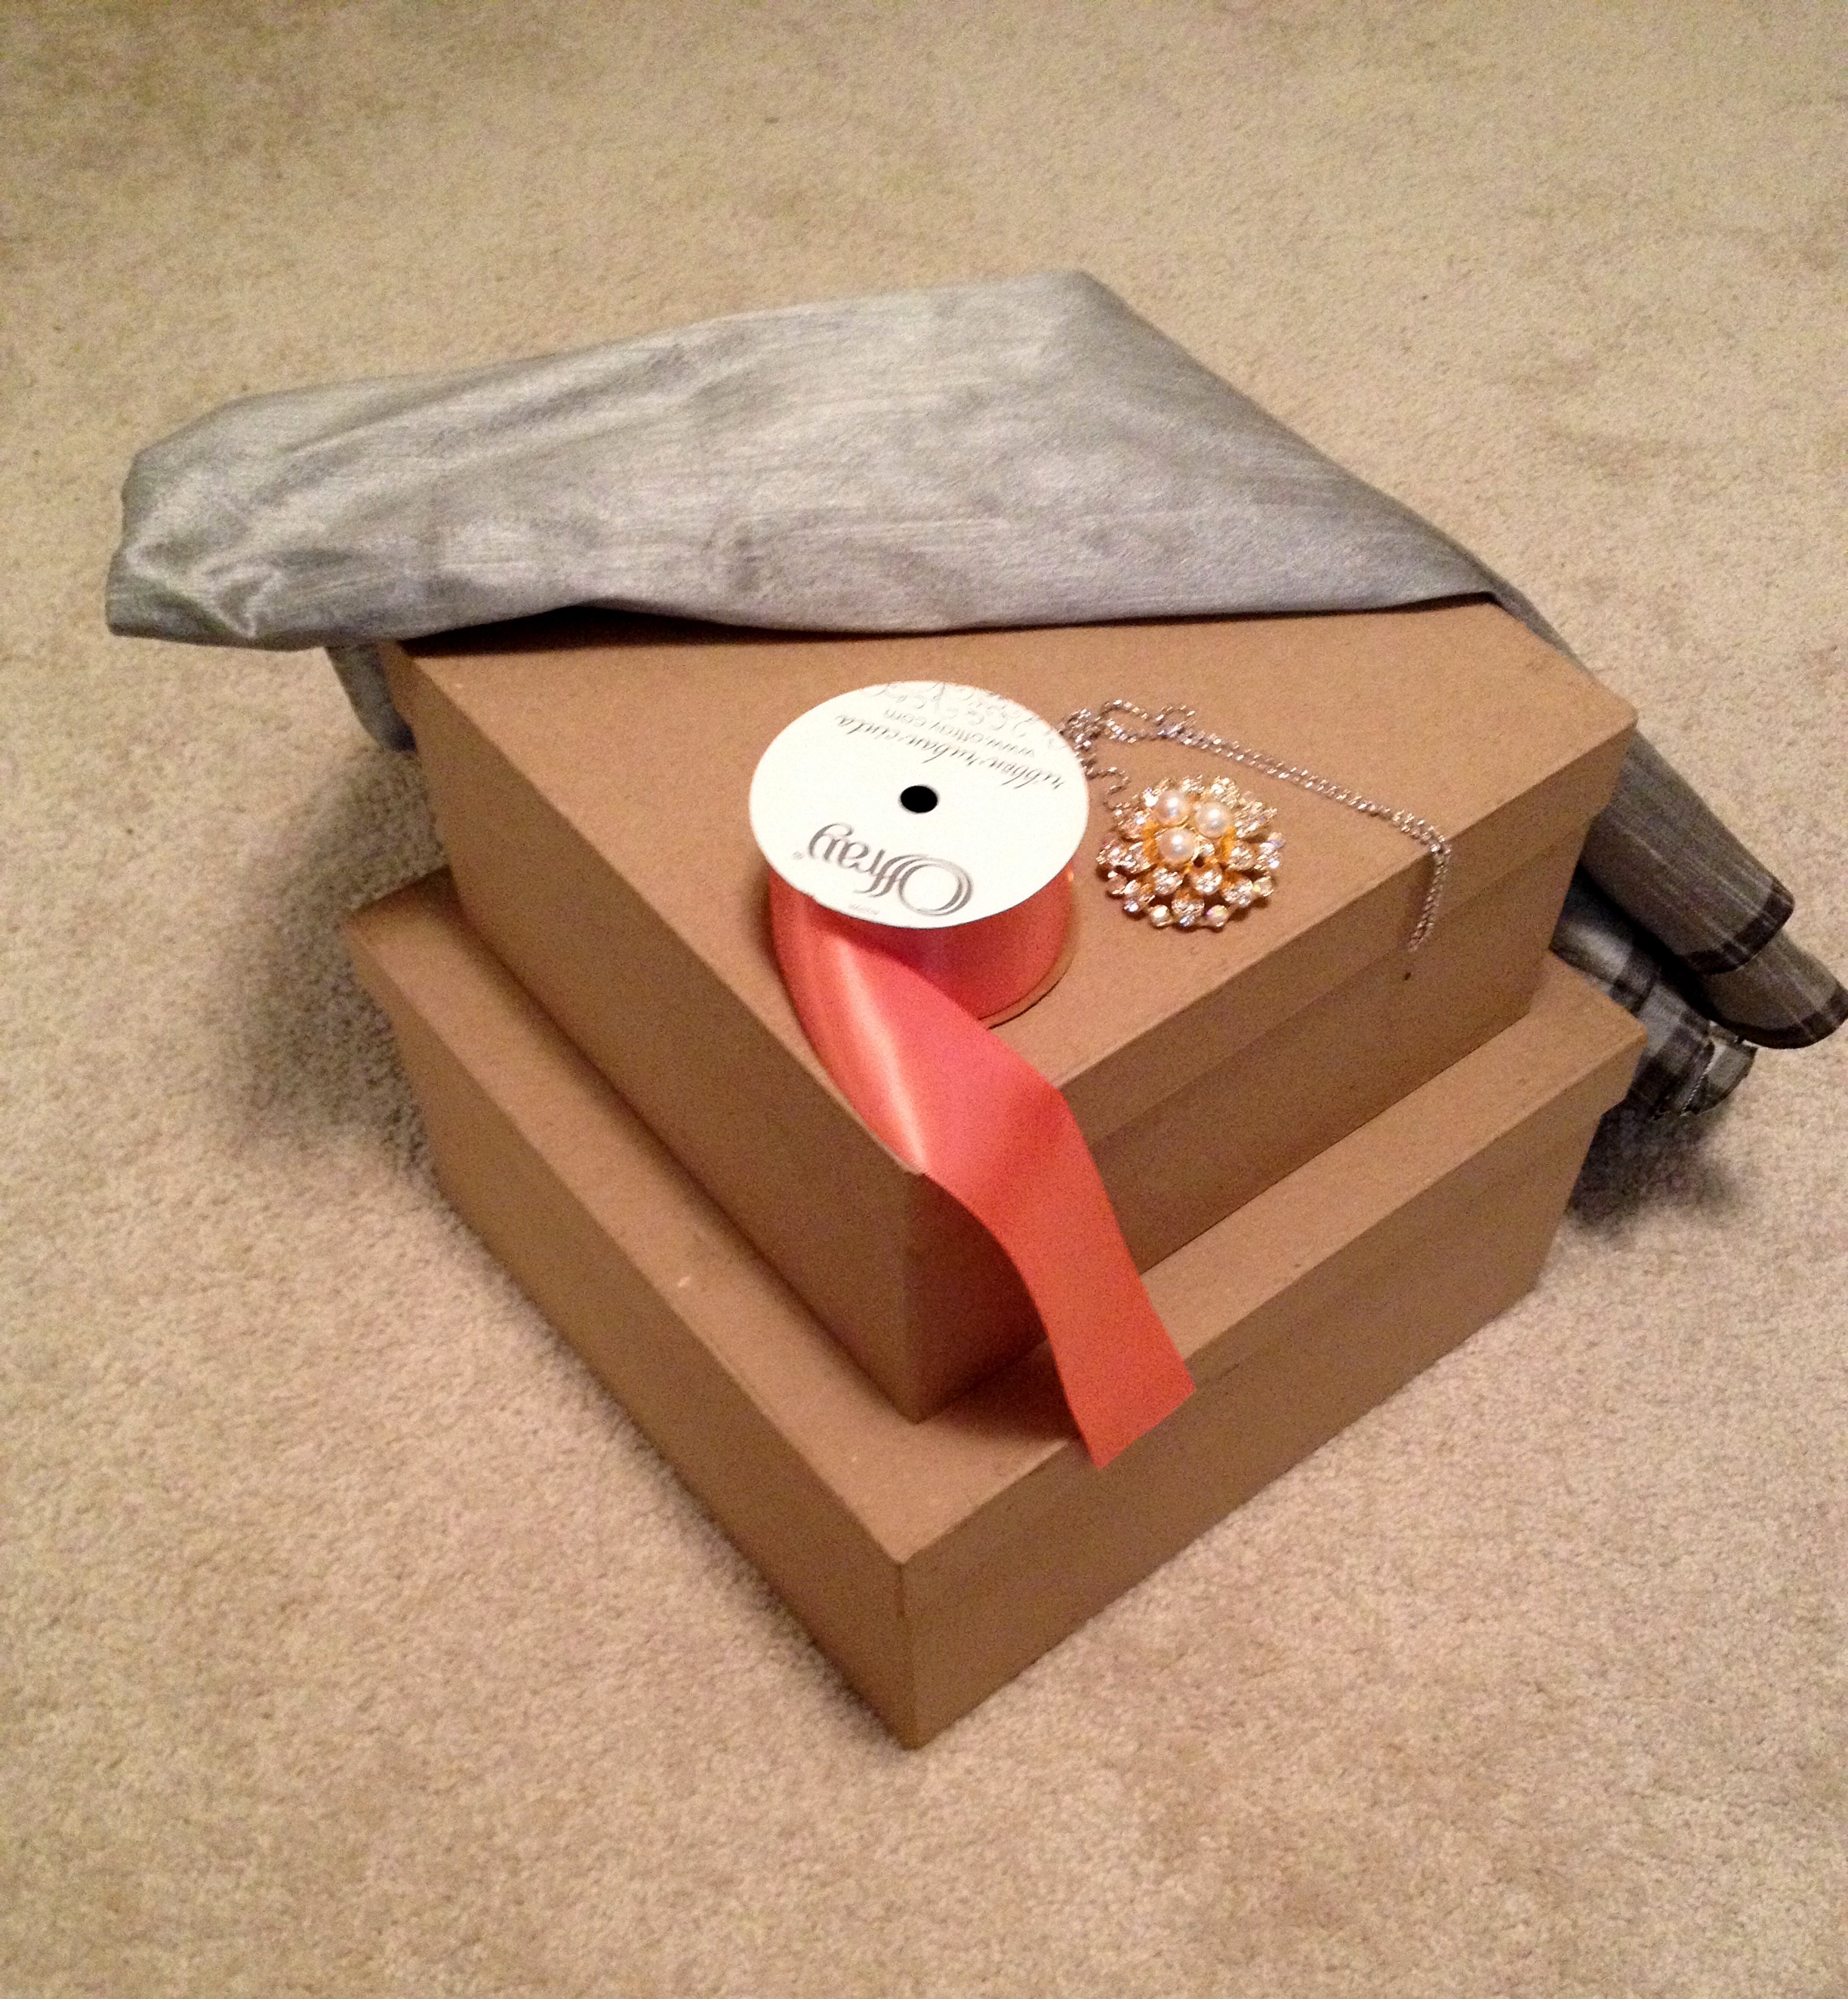
Materials/Supplies:
- Cardboard box (I got mine from Michael’s but it only came in a set of 5)
- 2 yards of silk duponi (ebay is an inexpensive option)
- Ribbon
- Rhinestone chain (if you only need a short piece, check out the jewelry making section at your local craft store)
- Brooch (optional)
- Glue gun
- Fabric scissors
- Craft knife
First, use the craft knife to cut out holes for the card box: one for the card slot and one for the cards to pass through the tiers.

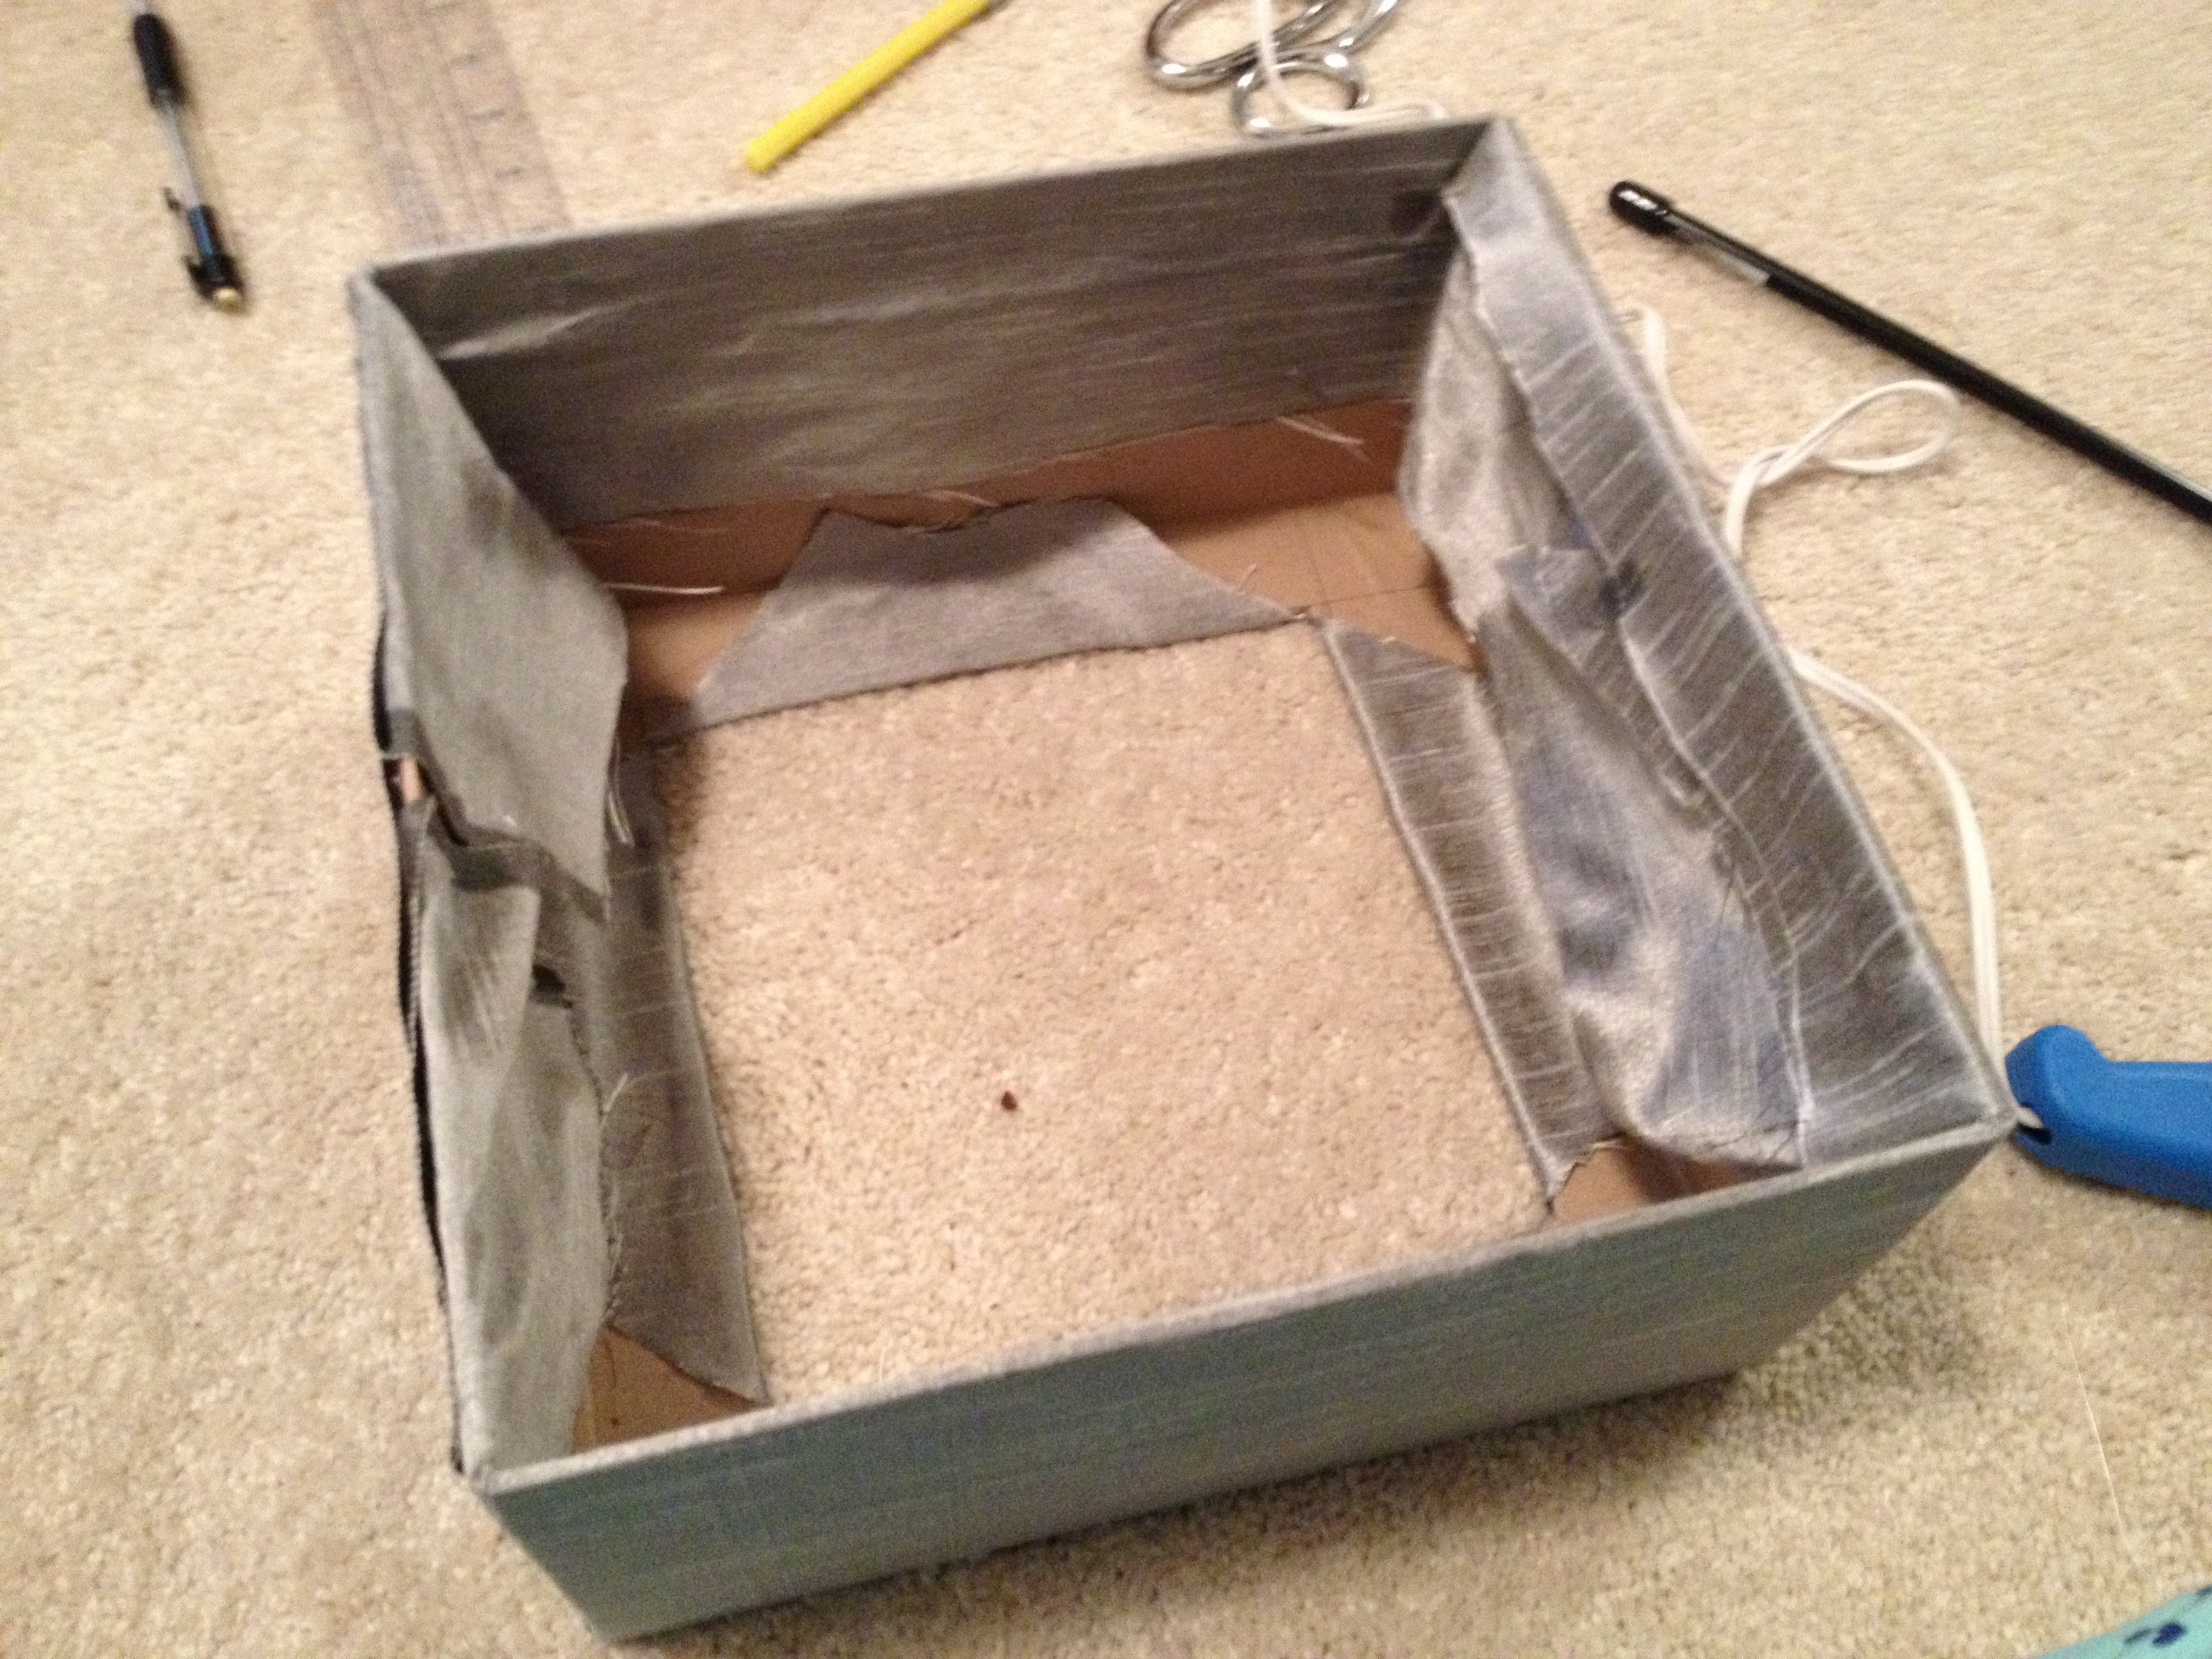
Guesstimate and cut the fabric to cover each box and lid (I started with the larger box to make sure I had enough fabric). Fold, wrap, and glue the fabric to the inside of the box like a present, with the triangles on the inside (I messed up one lid and placed the triangles on the outside). Do not glue on the outside of the box–the glue will show through the fabric.

Cut the fabric through the holes and glue them to the inside of the box/lid. The inside doesn’t need to be pretty. 🙂
Glue the rhinestone chain around the card slot opening. Glue the top box to the bottom lid. Tie a bow on the top box and attach the brooch. I used this video on how to tie a double bow. Because the brooch was pulling the bow down, I reinforced it with a headpin that was hidden in the brooch.
I think it turned out nicely, but it took way longer than expected. Would you DIY?


purdee!