
 OMG it’s already the end of January! Apparently, 2013 started off super busy for me. But hopefully it’s been a good month for you.
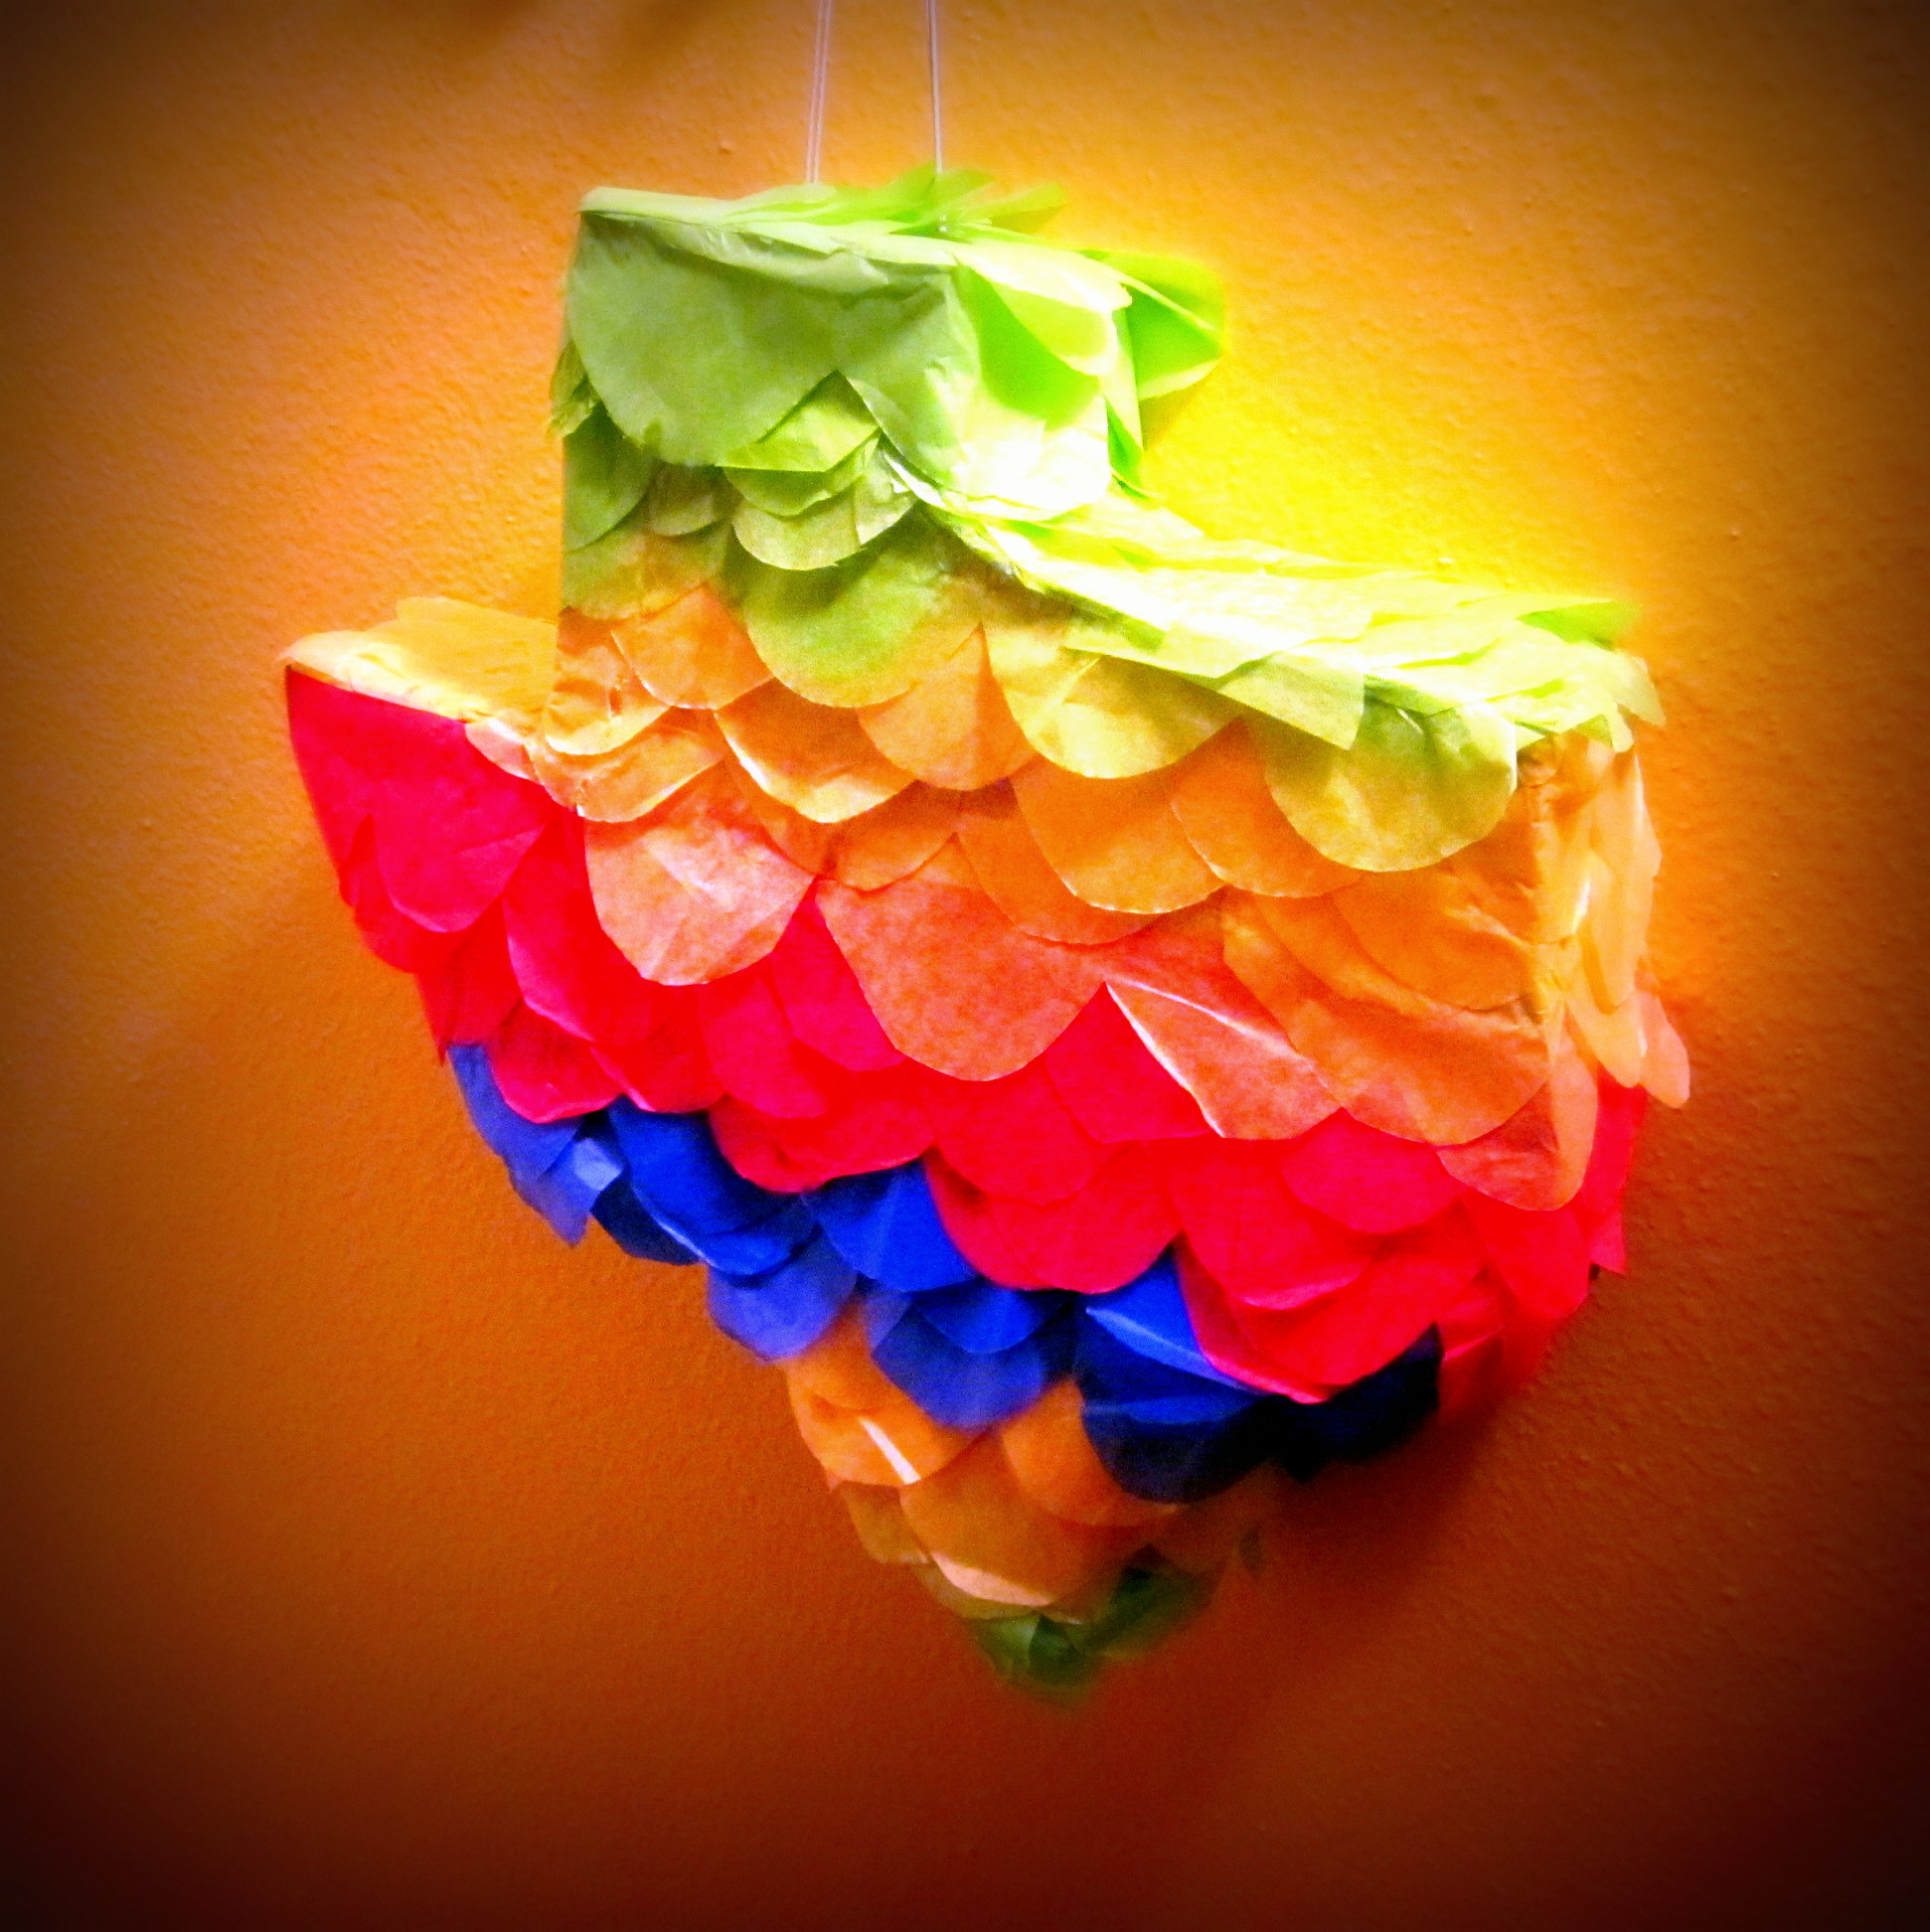
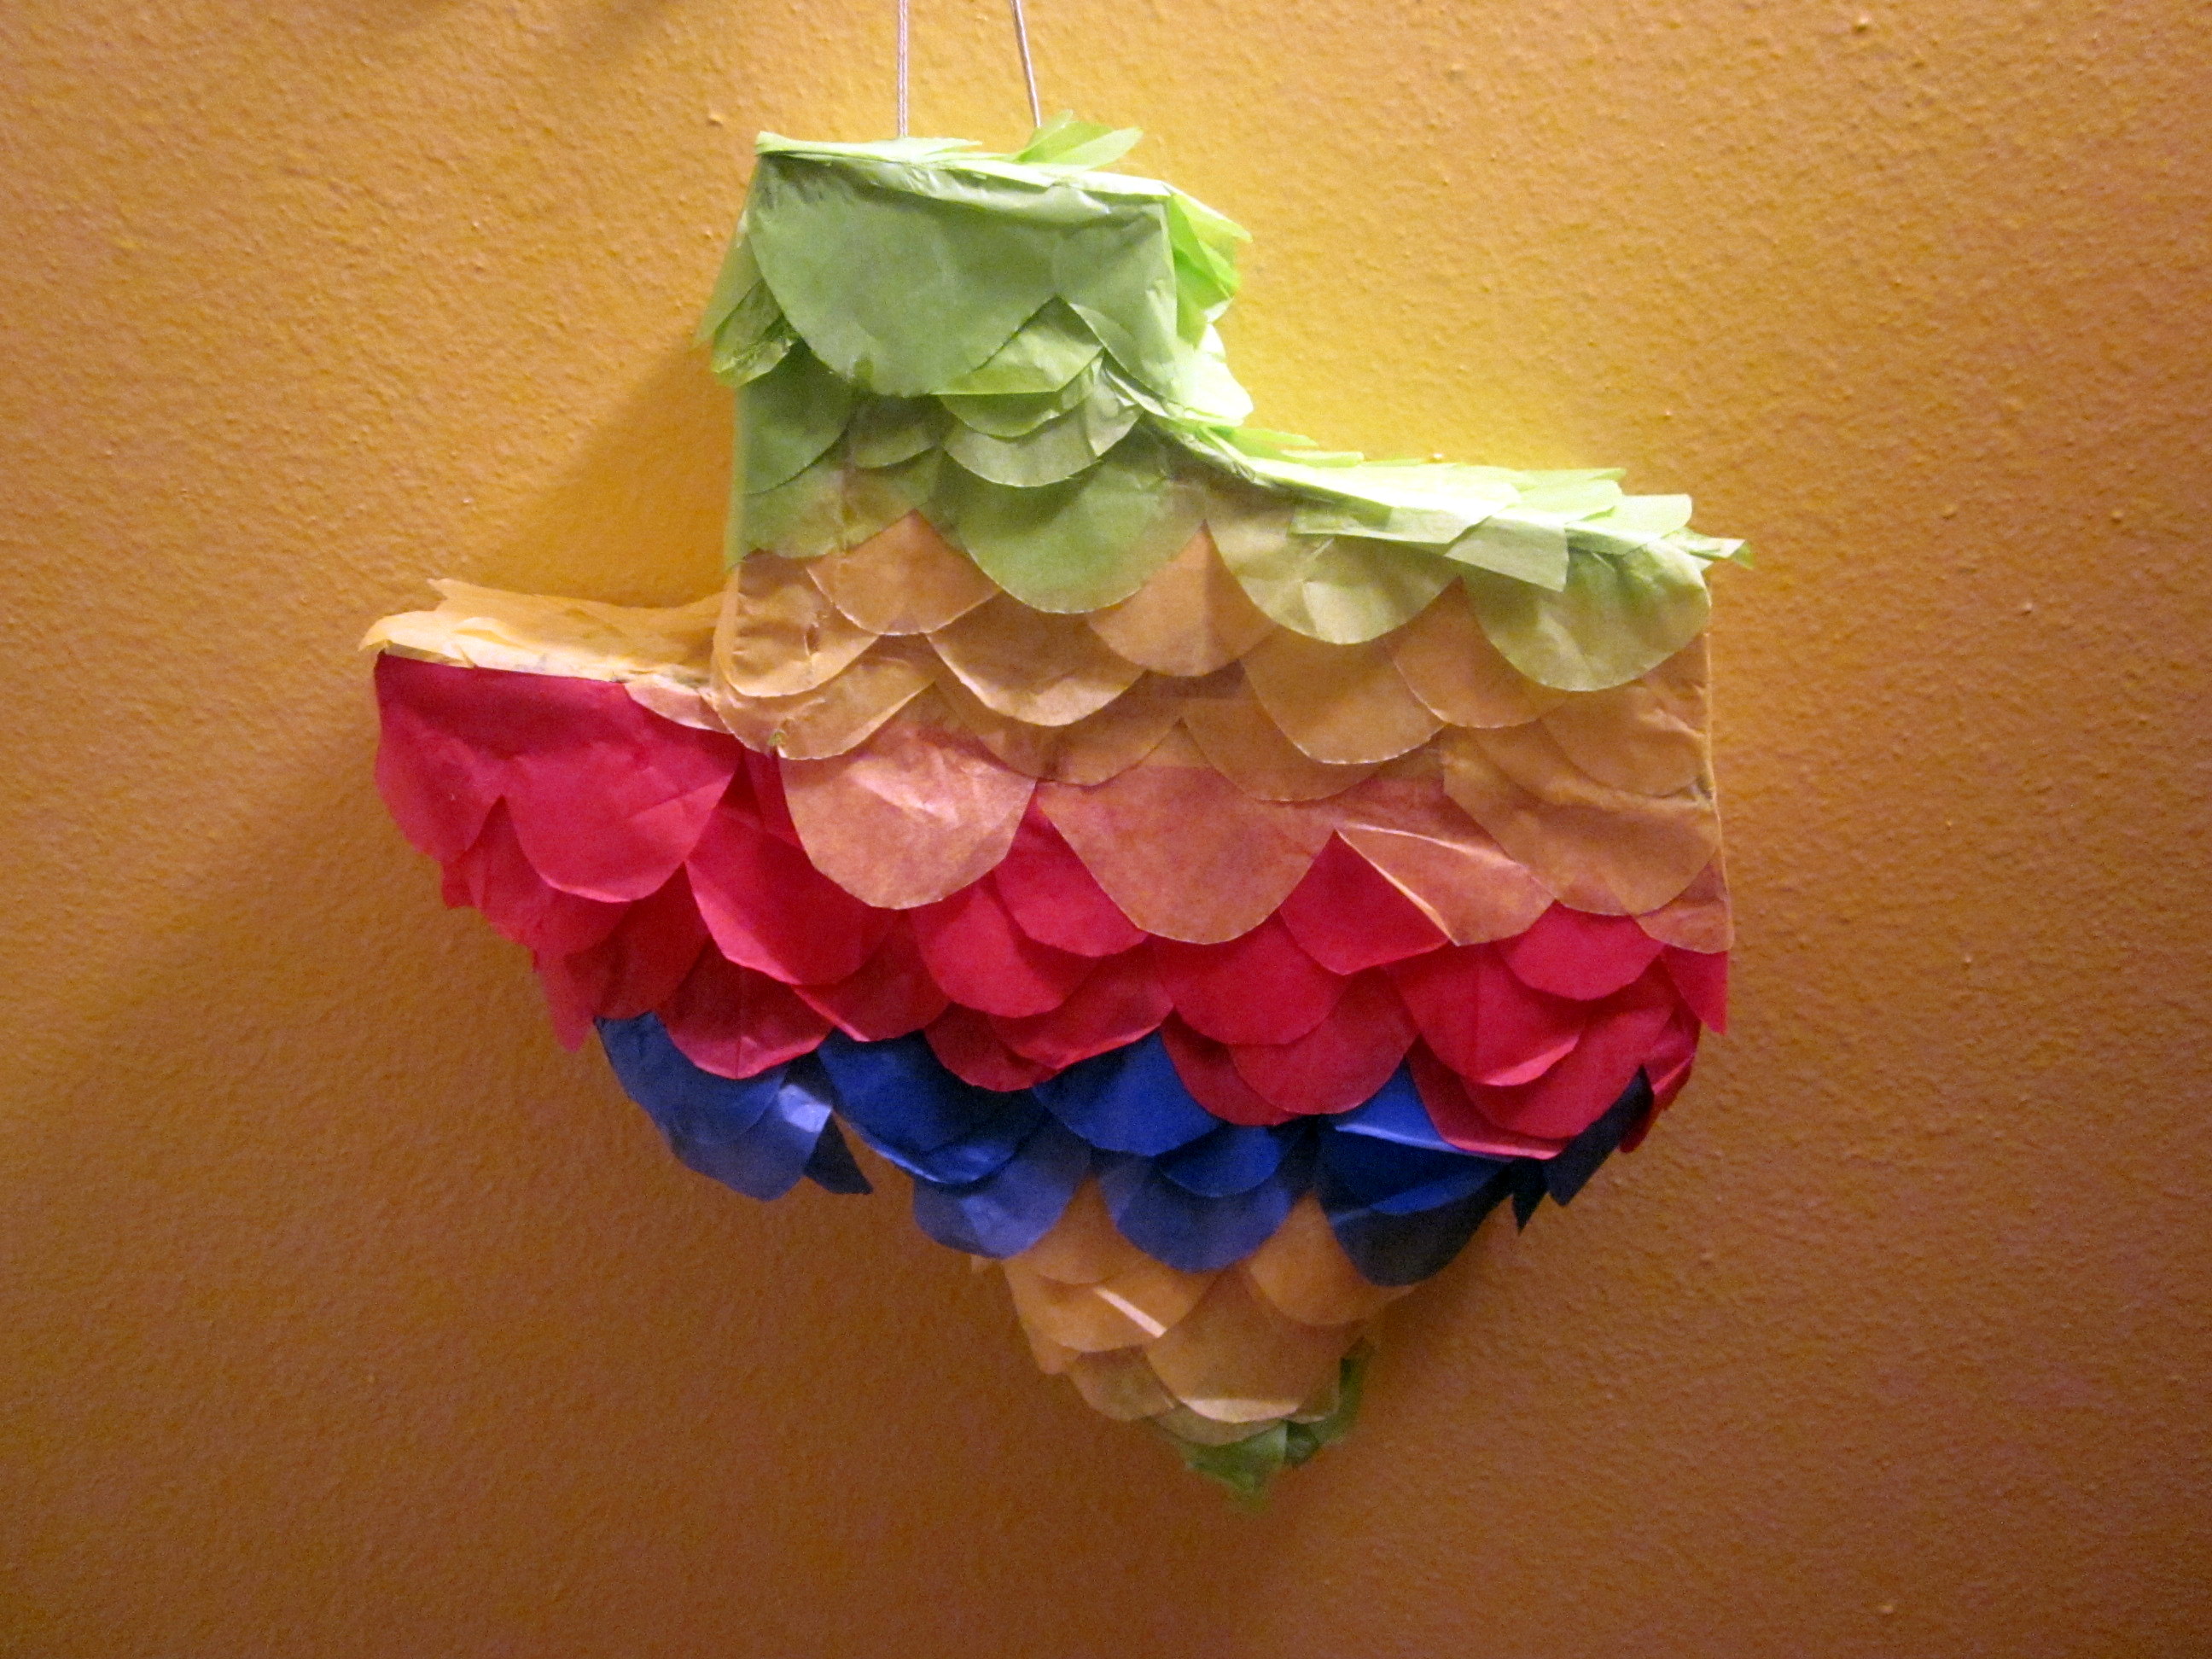
Even though I crafted this back in December, I wanted to share an easy semi-diy piñata I made for my work’s white elephant gift exchange. And of course, it’s in the shape of Texas! I tried to include the option of sticking some of our un-favorite people on it, but their photos were surprisingly difficult to track down. 😛
Materials/Tools:
- Cardboard
- Craft knife/scissors
- Masking tape
- Tissue paper
- Glue
- Candy!
Originally, I wanted to try a papier mâché pinata using the instructions from Refinery 29. However, I only had regular balloons rather than a punching balloon. A bit hesitant about how it would do whacking-wise, I went the route of using a cardboard base per Oh Happy Day‘s instructions.
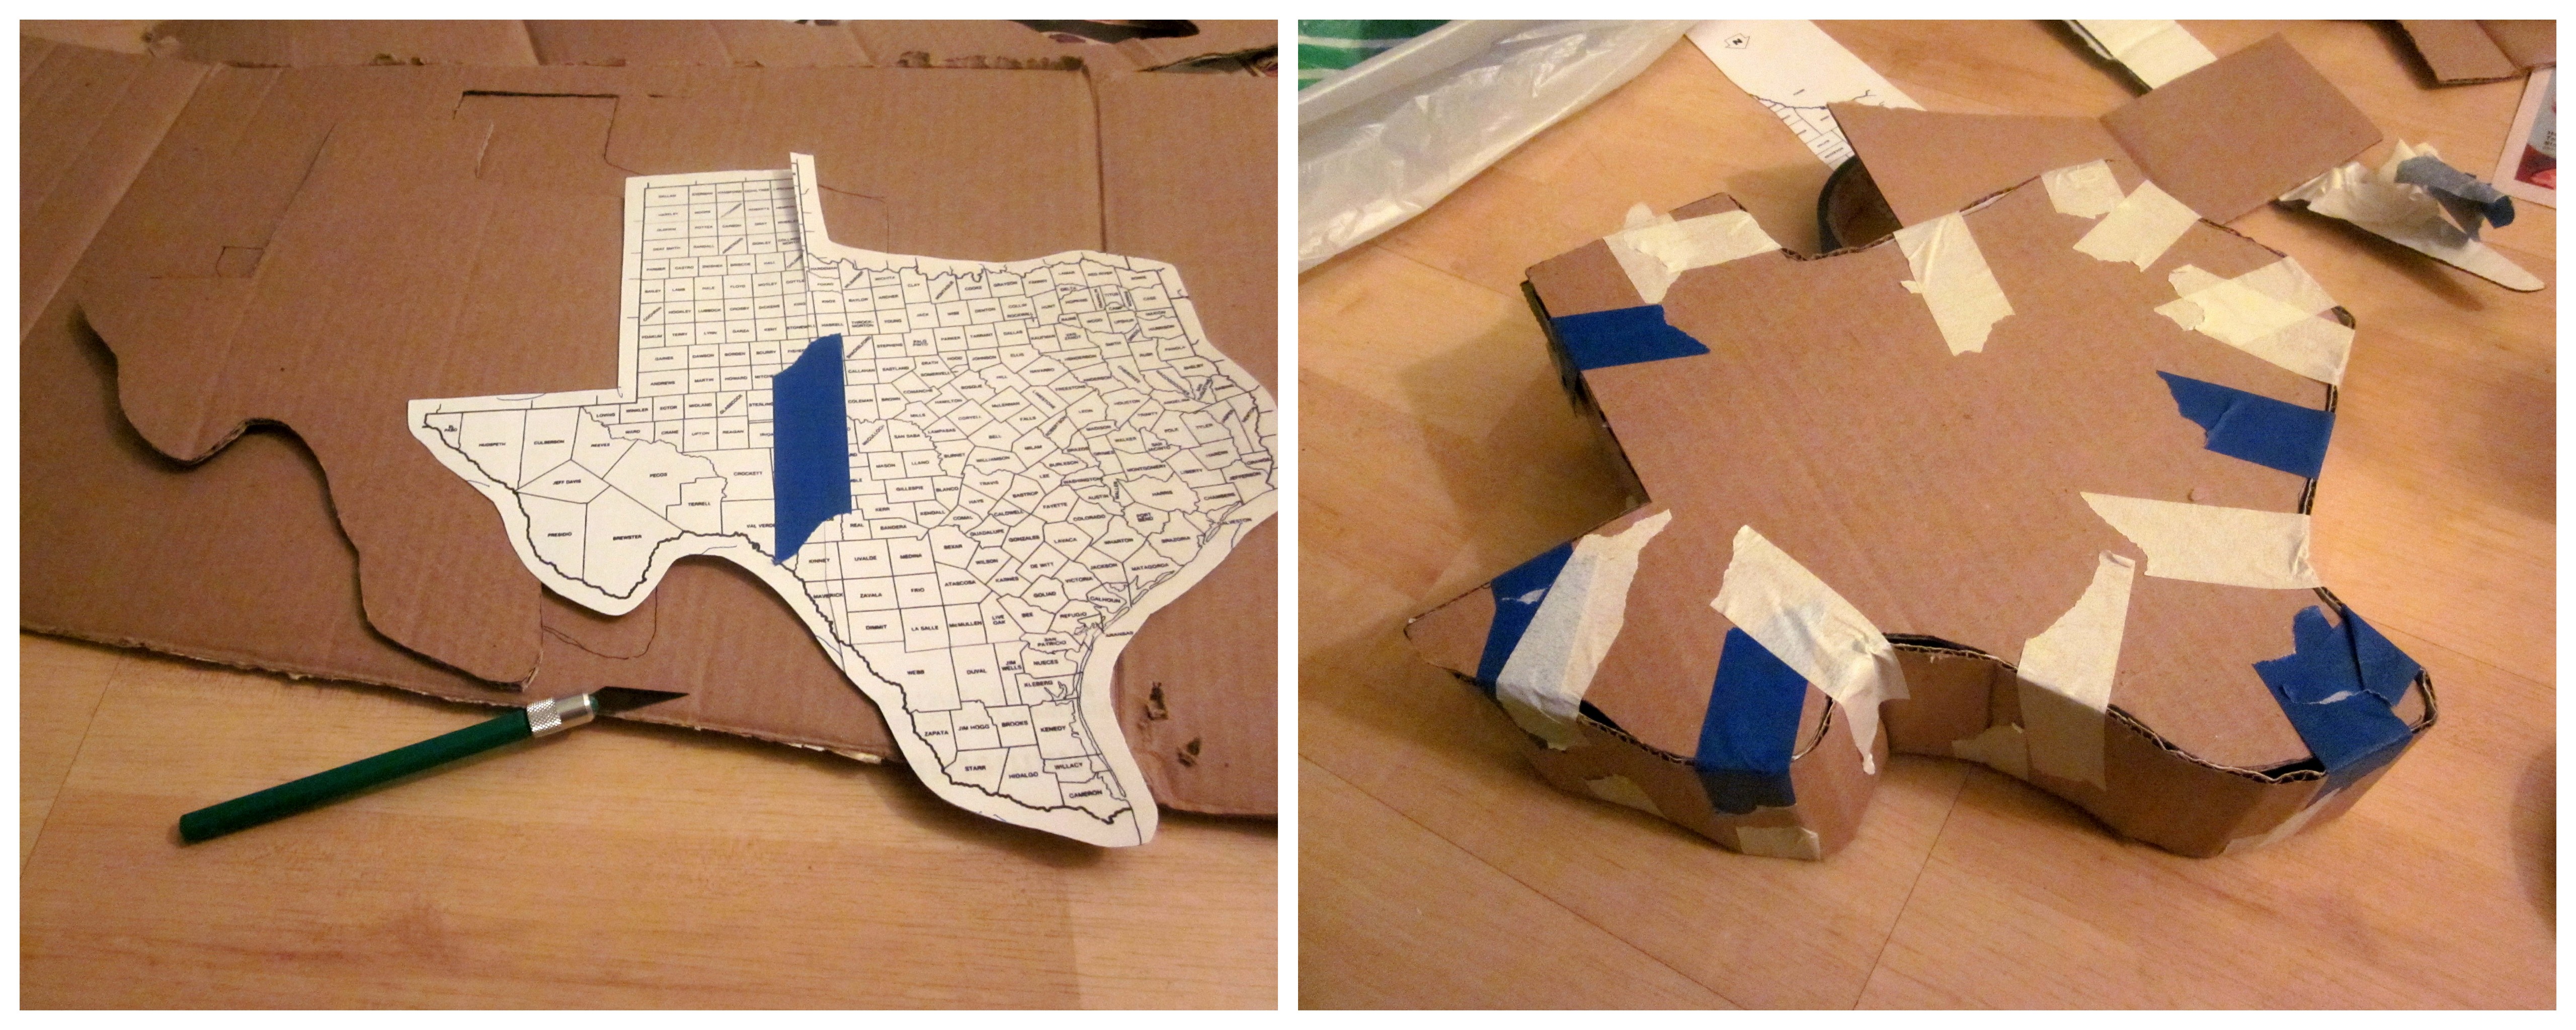
Start with cutting out two pieces of cardboard and lay them on top of each other. Using a stencil or by freehand, trace and cut out your desired shape (I printed out a Texas map as a rough stencil). Cut out strips of 3″ cardboard to line in between the two shapes. Run a cord through the top to use when hanging and reinforce it with masking tape. Tape the cardboard pieces together and add in candy before you seal the last piece. And there you have your piñata base!
Cut out 3″ inch strips of tissue paper. Accordion-fold the strips into a square, then cut out a half circle to make a scalloped edge or fringe cut it—whatever you’re feeling. Unfold the strip and fold down the top flat edge. Add glue to the folded line. Starting from the bottom of the piñata, wrap each strip of tissue paper around the piñata. Add more strips on top, creating layers until you’ve covered the entire piñata. You can also alternate colors as you add layers.

Now, it’s ready for whacking! Our team is waiting until a major milestone is completed and then we’ll all get a whack/celebration. 🙂

awesome! and, much safer than the pinatas you can buy on cesar chavez!
I want one of these Texas Pinatas!